After installing almost all of the OSB and the main double doors I made the large nesting box door/lid. I started with only two hinges but ended up installing a third in the center after we finished painting.
 |
| The inside after the walls and door were finished. |
I left a section open in the front of the coop for the summer time heat, and also cut a piece of OSB to cover it during the cold season. I stapled some heavy gauge wire in the window opening and in the
ventilation gaps near the roof. Next I installed the window with a
couple small hinges, and put silicon around the glass on the inside of the frame.
Next step was to raise the chicken run. For this I decided to lag some 2X4s into the existing 4X4 posts and
wrapping it with heave gauge lathing wire (since "chicken wire" is way
too thin).
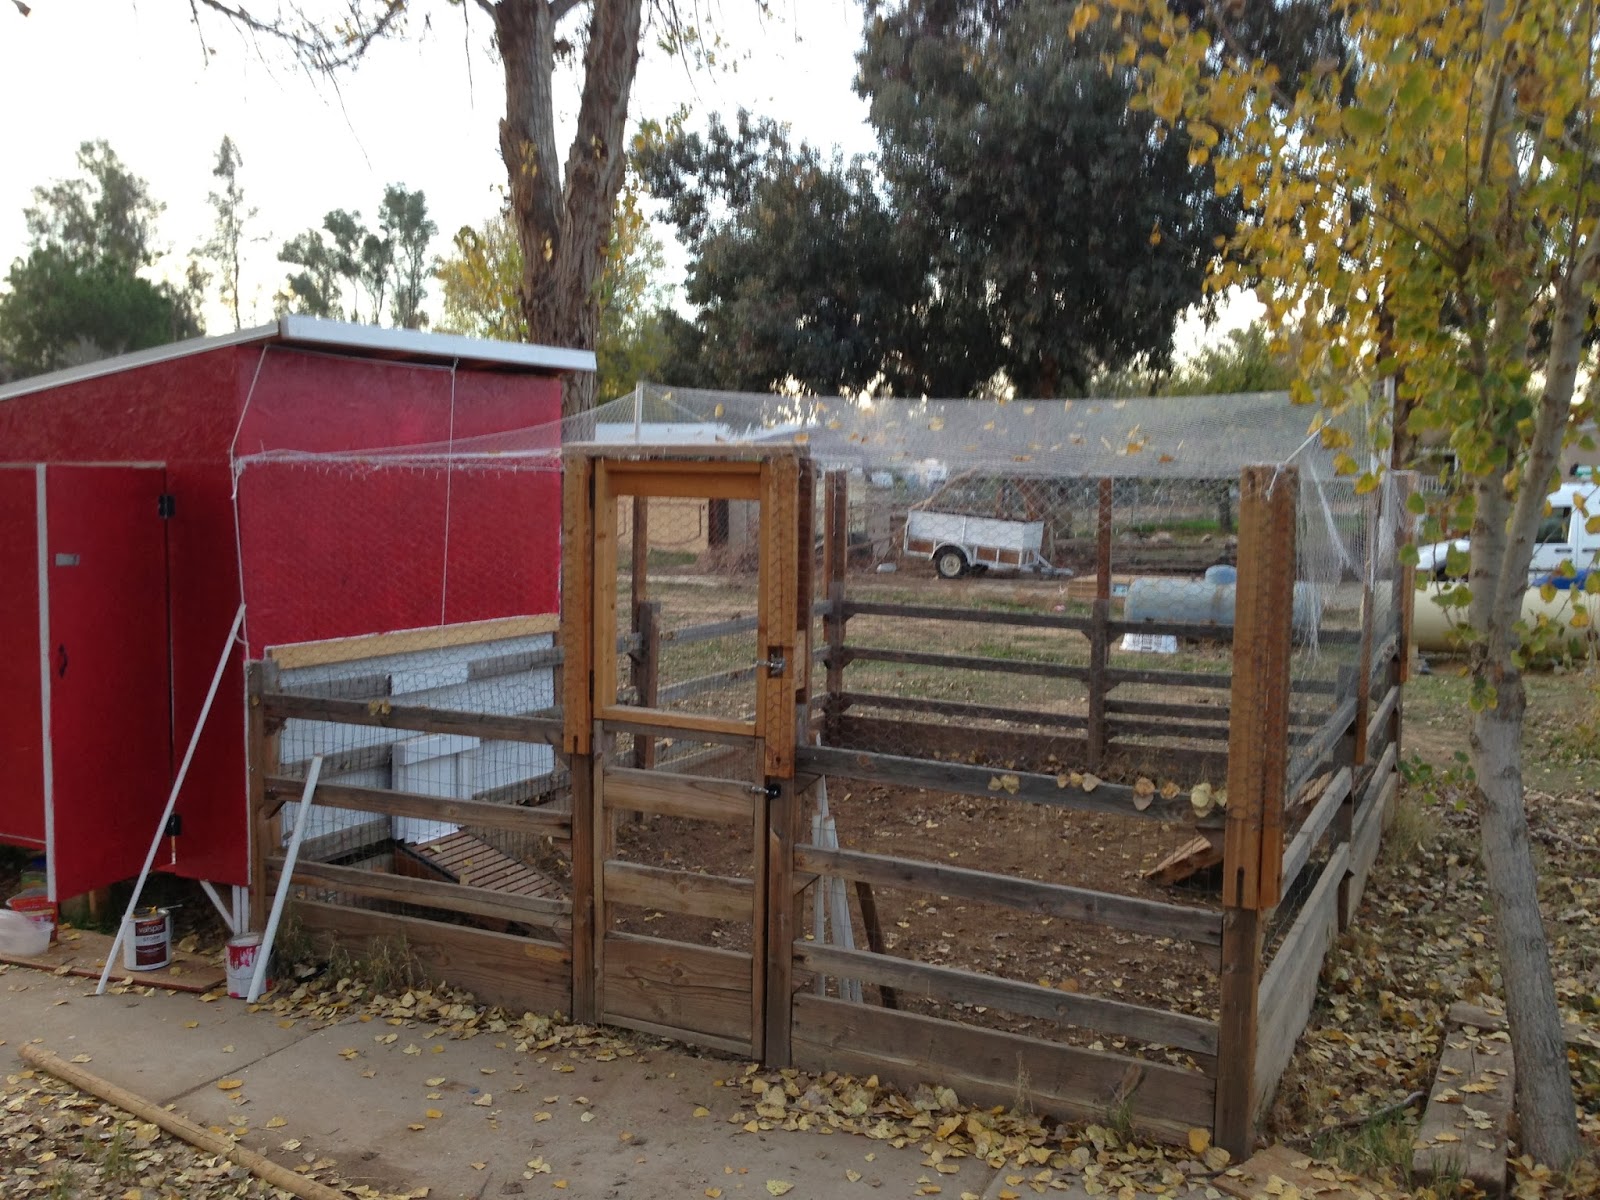
I also raised the gate and added a second 'dutch' type gate above
the existing one. This way we can just open the top gate to throw some scratch and treats without the hens running out. I reinforced the top frame and ended up replacing the 2X4 header that is in this picture with a 2X6.
The kids couldn't wait to get their hands on that red paint! But first we painted a couple coats of white primer to help protect the wood and make the red more... red.

You can see in this picture - I added a small vertical-sliding door with a pulley system so we can open/close the door without having to go into the chicken run. Overkill? yea.
I built a small two-pole roost in the coop, you can also see in this photo, I installed the winter board to close up the front (sorry, it's a bit blurry).
I used silicon and expanding foam on the large cracks inside and then we all took turns painting
2 coats of primer and 2 coats of thick semi-gloss exterior paint on the
floor to keep the moisture from absorbing into the wood.
A view into the nesting boxes... Those are going to be some happy hens!
There are a lot of big hawks that like to hang out in our eucalyptus
trees so we decided to install some UV resistant, marine-grade aviary
netting over the run, in this photo you can also see the finished run gate.
.JPG)
This is by far one of the most enjoyable projects I have done and is one of many we have planned. There
were a lot of little things I still wanted to do like add white trim
boards along the edges of the exterior and around the door to give it
that barn look, but it really isn't worth the extra money.
Functionality is key... Instead I focused my attention on self watering cups fed by a 5 gallon bucket and a solar panel/battery/light system - I will write separate posts about how I installed both of those things.
At the time of writing this we have already had our chickens for a month and so far the coop has worked out perfect.
Feel free to ask me any questions about this project!


0 comments:
Post a Comment